As the gaming industry continues to grow, more and more people are finding ways to enjoy their favorite games on their personal computers. The Xbox controller is one of the most popular game controllers available, and connecting it to your PC is easier than you might think. In this comprehensive guide, we’ll show you how to connect your Xbox controller to your PC and start gaming like a pro.
What You’ll Need
Before we get started, here’s what you’ll need to connect your Xbox controller to your PC:
- An Xbox controller
- A PC with Windows 10 or later
- A micro-USB cable or Xbox wireless adapter
Connecting via Micro-USB Cable

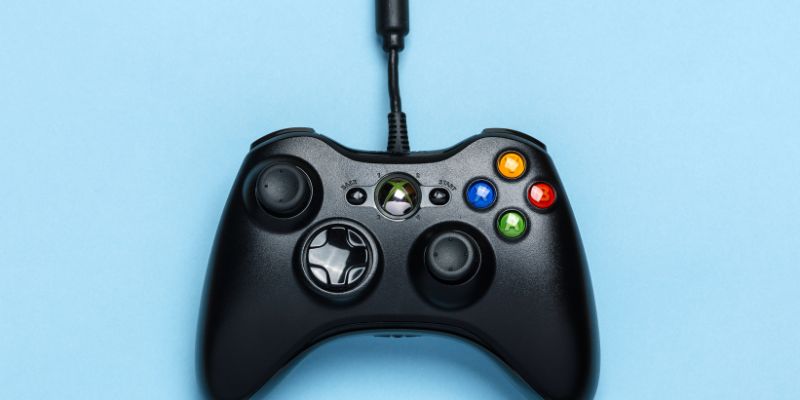
The easiest way to connect your Xbox controller to your PC is by using a micro-USB cable. Simply follow these steps:
- Step 1: Connect one end of the micro-USB cable to your Xbox controller and the other end to your PC.
- Step 2: Your PC will automatically recognize the controller and install any necessary drivers.
- Step 3: Once the drivers are installed, you’re ready to start gaming.
Connecting via Xbox Wireless Adapter

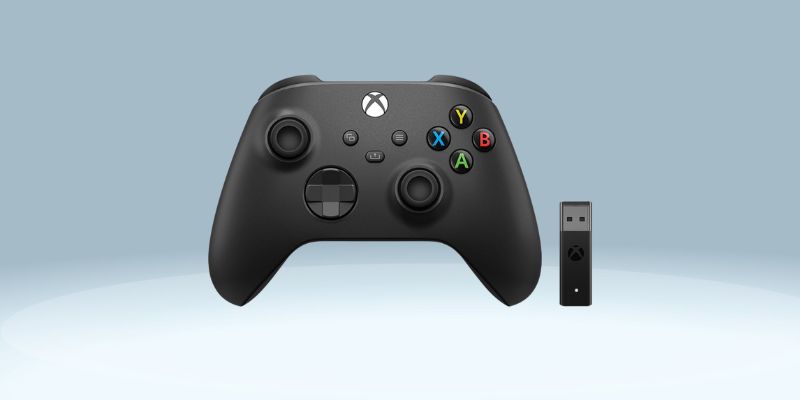
If you prefer to use a wireless connection, you can purchase an Xbox wireless adapter. The process is just as simple as using a micro-USB cable, and here’s how you can do it:
- Step 1: Connect the Xbox wireless adapter to your PC.
- Step 2: Turn on your Xbox controller by pressing and holding the Xbox button.
- Step 3: Press and hold the pairing button on the Xbox wireless adapter until the controller’s Xbox button starts flashing.
- Step 4: Once the controller is paired with the adapter, you’re ready to start gaming.
Connecting via Bluetooth

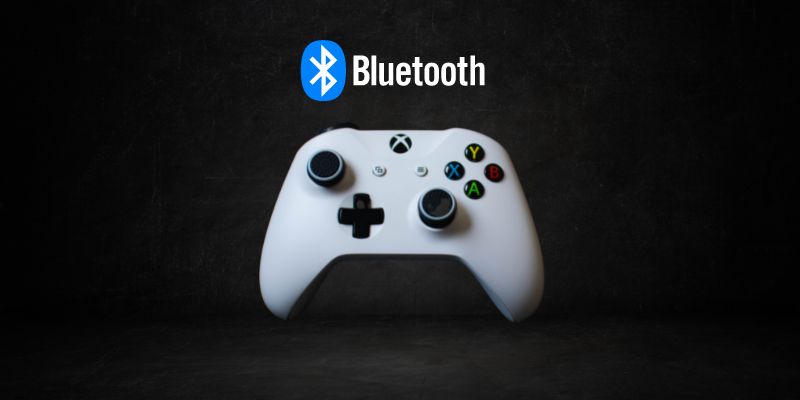
You can also connect your Xbox Controller to your PC using a wireless connection. Here’s how to do it:
- Step 1: Make sure your Xbox Controller is charged and turned on.
- Step 2: Turn on your PC.
- Step 3: Press the Xbox button on your controller to turn it on.
- Step 4: Hold down the pairing button on the controller until the Xbox button starts flashing.
- Step 5: Go to your PC Settings > Devices > Bluetooth & other devices and Turn on Bluetooth.
- Step 6: Click on “Add Bluetooth or other device” and select “Bluetooth”.
- Step 7: Select your Xbox Controller from the list of available devices.
- Step 8: Follow the on-screen instructions to complete the pairing process.
Troubleshooting Common Issues
If you’re having trouble connecting your Xbox controller to your PC, here are a few common issues and how to resolve them:
- Controller not recognized: If your PC is not recognizing your controller, make sure it’s fully charged and try a different USB port.
- Xbox button flashing: If the Xbox button on your controller is flashing, it means it’s not connected to your PC. Make sure the controller is properly connected to your PC or the Xbox wireless adapter.
- Wireless connection issues: If you’re having trouble with your wireless connection, try moving your Xbox wireless adapter to a different location or restarting your PC.
Frequently Asked Questions (FAQ)
Yes, you can connect multiple Xbox Controllers to your PC, as long as you have enough USB ports or a receiver for each controller.
Yes, you can use an Xbox One Controller on your PC. However, you may need to download and install the latest drivers from the Microsoft website to ensure that your controller is fully compatible with your PC.
Yes, you can use an Xbox Controller on your Mac. However, you will need to download and install additional software such as “360Controller” or “Xone-OSX” to ensure that your controller is fully compatible with your Mac.
Conclusion
Connecting your Xbox controller to your PC is a simple and straightforward process. Whether you prefer a wired or wireless connection, the steps are easy to follow and will have you gaming like a pro in no time. If you’re having trouble connecting your controller, be sure to troubleshoot any common issues and always make sure your controller is fully charged. With this comprehensive guide, you’ll be able to enjoy all your favorite games on your PC with ease.


