When it comes to troubleshooting or restoring your iPhone, one of the most powerful tools at your disposal is Device Firmware Update (DFU) Mode. This lesser-known mode allows you to perform advanced recovery and restoration tasks on your iPhone that are not possible with standard methods. In this article, we will provide a comprehensive guide on how to put your iPhone in DFU Mode, as well as how to use it effectively and safely for troubleshooting and restoration purposes.
DFU Mode is essential in addressing various software and firmware issues that your iPhone may encounter. However, it’s important to exercise caution when using this powerful tool, as there are potential risks involved. We will also cover these risks and discuss situations where DFU Mode should be avoided. So, let’s dive into the world of DFU Mode.
What is DFU Mode and Why is it Important
DFU mode is a low-level firmware mode that allows you to update the firmware of your device. When you put your iPhone in DFU mode, it enters a state where it can communicate with iTunes on your computer and receive a new firmware update. This can be especially useful when your iPhone is stuck in a boot loop or when you need to erase all data from your device.
Benefits of Putting Your iPhone in DFU Mode
- Restoring an iPhone stuck in a boot loop: If your iPhone is stuck in a boot loop, it may be necessary to put it in DFU mode and restore it using iTunes.
- Updating the firmware: When you put your iPhone in DFU mode, you can update its firmware and get the latest version of iOS.
- Erasing all data: If you need to erase all data from your device, putting it in DFU mode can help you do that effectively.
What You Need Before Putting Your iPhone in DFU Mode
Before you put your iPhone in DFU mode, you’ll need the following:
- A computer with iTunes installed
- A lightning cable to connect your iPhone to your computer
- Your iPhone
How to Put Your iPhone in DFU Mode
Putting your iPhone in DFU mode can seem like a complicated process, but it’s actually quite simple if you follow the steps correctly. In this section, we’ll guide you through the process of putting your iPhone in DFU mode.
Method 1: DFU Mode on the Latest iPhone Models Without a Home Button
Are you having trouble putting your latest iPhone model into DFU mode? Here’s a step-by-step guide to help you do so:
- Step 1: Press and quickly release the volume up button.
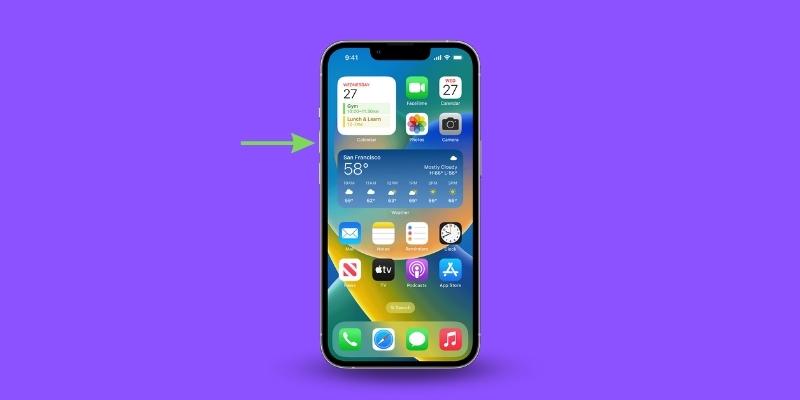
- Step 2: Press and quickly release the volume down button.
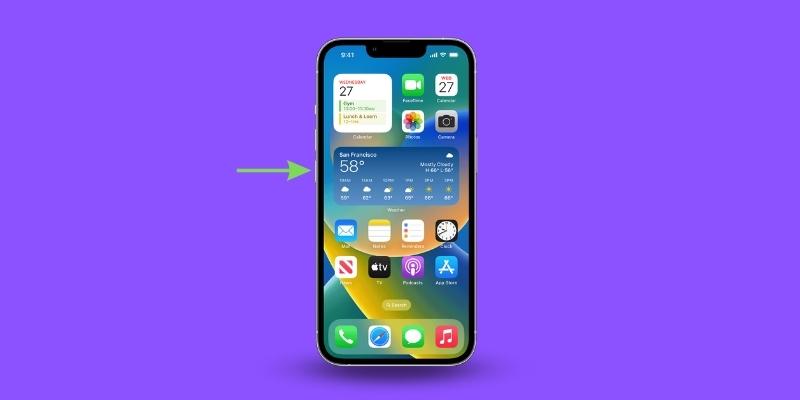
- Step 3: Hold down the side button for ten seconds.
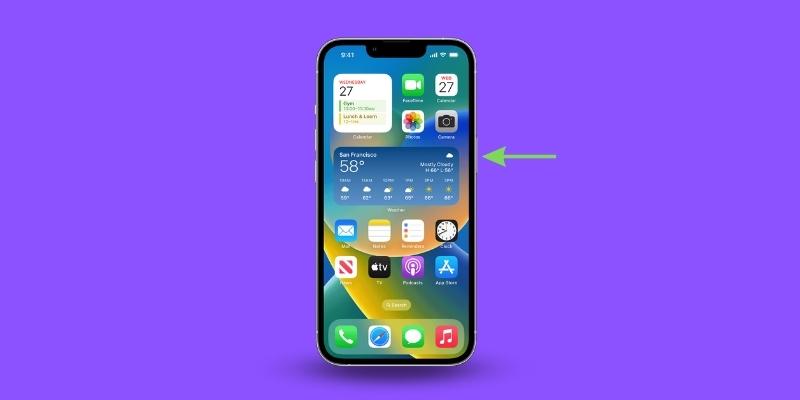
- Step 4: While still holding the side button, press and hold the volume down button.
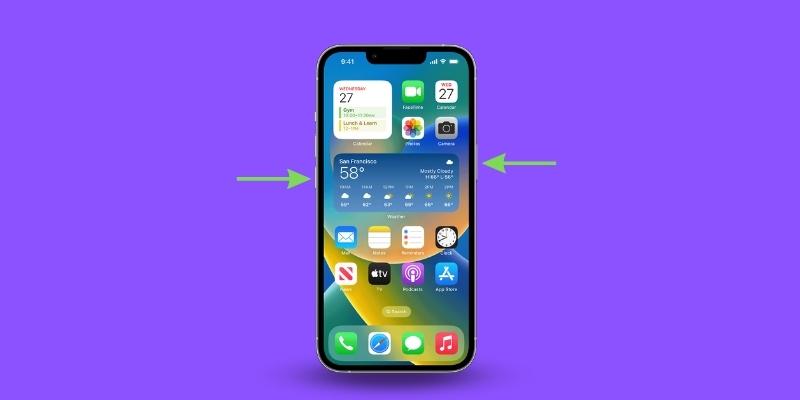
- Step 5: Continue to hold down the side button for another five seconds.
- Step 6: Release your finger from the side button but keep holding the volume down button.
- Step 7: After ten seconds, release your finger from the volume down button as well.
At this point, your iPhone screen should remain black, which indicates that it is in DFU mode. When you connect your phone to iTunes, it will detect your iPhone in recovery mode. To use your phone with iTunes, you must first restore it.
Exiting DFU Mode on the Latest iPhone Models
If you’ve put your latest iPhone model into DFU mode and are ready to exit it, here’s a step-by-step guide to help you do so:
- Press and quickly release the volume up button.
- Press and quickly release the volume down button.
- Hold down the side button until the Apple logo appears on the screen.
- Release the side button and your iPhone will start booting up from iOS.
By following these steps, you can exit DFU mode and get back to using your iPhone normally.
Method 2: DFU Mode on Older iPhone Models with a Home Button
If you’re having trouble putting your older iPhone model into DFU mode, here’s a step-by-step guide to help you do so:
- Step 1: Connect your iPhone to your computer and open iTunes.
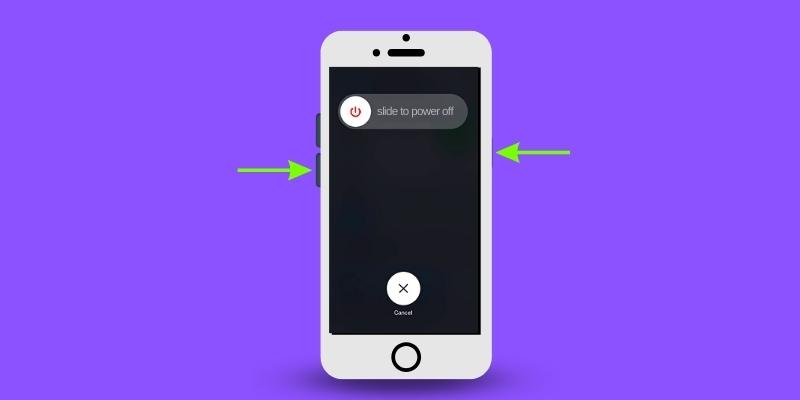
- Step 2: Turn off your iPhone by holding down the sleep/wake button and sliding the power off slider.
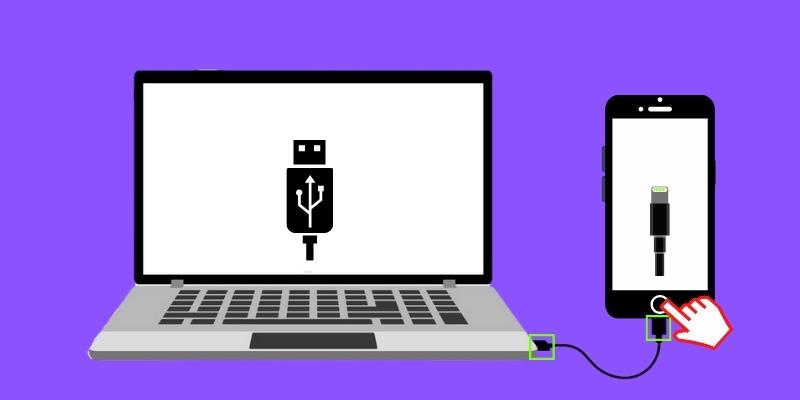
- Step 3: Hold down the home button and plug in your iPhone’s USB cable to your computer.
- Step 4: Continue holding down the home button until you see the iTunes logo and a message saying that it has detected an iPhone in recovery mode.

- Step 5: Release the home button and your iPhone will now be in DFU mode.
With your iPhone in DFU mode, you can now restore it through iTunes and get back to using your phone again.
Exiting DFU Mode on Older iPhone Models
If you’ve put your older iPhone model into DFU mode and are ready to exit it, here’s a step-by-step guide to help you do so:
- Press and hold the sleep/wake button and the home button together.
- Continue holding both buttons until the Apple logo appears on the screen.
- Release both buttons and your iPhone will start booting up from iOS.
By following these steps, you can easily exit DFU mode on your older iPhone model and get back to using your phone normally.
Common Issues When Putting Your iPhone into DFU Mode
If you have trouble putting your iPhone into DFU mode, there are a few common issues that can cause problems. Here are some of the most common issues and how to resolve them:
- iTunes not detecting your iPhone: If iTunes doesn’t detect your iPhone when it’s in DFU mode, make sure that your USB cable is securely connected to both your computer and your iPhone. If the cable is loose, it can cause communication issues between your computer and your iPhone.
- Black screen but not in DFU mode: If your iPhone screen is black but iTunes doesn’t display a message saying that it has detected an iPhone in recovery mode, it means that your iPhone is not in DFU mode. Make sure to follow the steps carefully, especially the timing of holding down the “Power” and “Home” buttons.
- iPhone not turning off: If your iPhone won’t turn off, make sure to hold down the “Power” button until the “Slide to Power Off” slider appears. If that doesn’t work, try resetting your iPhone by holding down the “Home” and “Power” buttons together until the Apple logo appears.
Frequently Asked Questions (FAQ)
No, DFU mode and recovery mode are different. Recovery mode is a mode that your iPhone enters when iTunes detects a problem with your device. DFU mode, on the other hand, is a low-level firmware mode that allows you to update the firmware of your device or erase all data from your device.
When you put your iPhone in DFU mode, it enters a state where it can communicate with iTunes on your computer and receive a new firmware update or erase all data from your device.
If iTunes doesn’t detect your iPhone in DFU mode, it means that you didn’t hold the Home button for long enough after releasing the Power button. Try the process again, making sure to hold the Home button for 10 seconds after releasing the Power button.
Conclusion
Throughout this article, we’ve delved into the essential aspects of DFU Mode and its significance in resolving and restoring various iPhone issues. We have offered a detailed guide covering the fundamentals of DFU Mode, along with step-by-step instructions on how to enter and exit it, empowering you to make the most of this potent yet lesser-known tool.
By becoming proficient in utilizing DFU Mode and understanding the appropriate situations in which to use it, you can take charge of your iPhone’s performance and potentially save yourself valuable time and effort. Equipped with this knowledge, you’ll be better prepared to tackle any issues that may arise with your device, ensuring it remains in optimal working condition.


